What QA testing covers
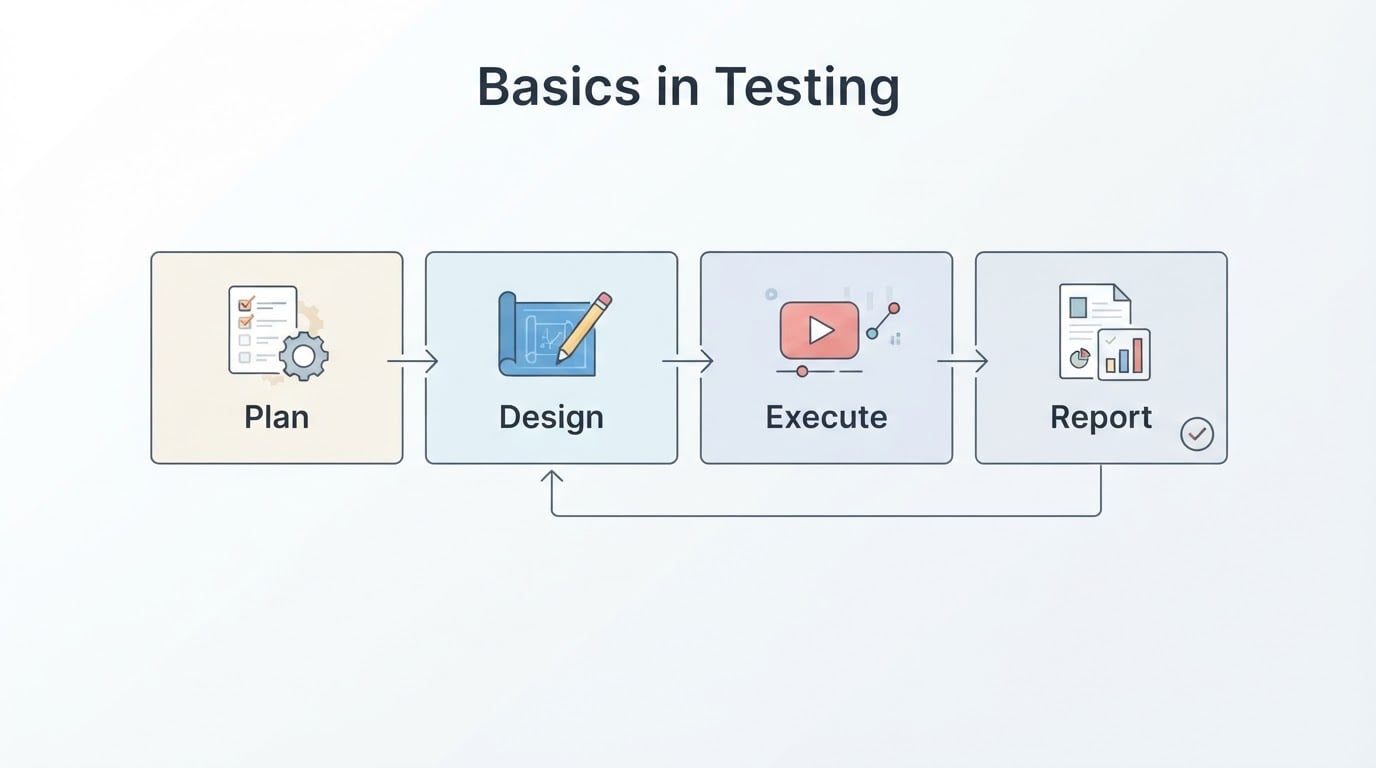
QA testing systematically evaluates software for functional requirements, reliable performance, and freedom from critical defects before release. Every word in that sentence matters. "Systematically" means the checks were chosen on purpose rather than improvised. "Functional requirements" means there is a written expectation to compare against. "Before release" means the work happens while a change can still be stopped.
The scope is deliberately wider than a search for individual bugs. It includes deciding what "correct" actually means for a given flow, checking that the built software behaves the way the requirement says, and giving someone a defensible reason to answer yes or no when the release candidate appears.
That is also the practical answer to what quality assurance is in software testing. Assurance is the part that sets and defends a quality bar; testing is the part that measures against it. The two phrases — software testing and QA — are often used interchangeably, but they describe different jobs. Testing produces results. Assurance decides whether those results are enough to ship, and says so in writing.
What QA cannot promise is the absence of every defect. It is a structured appraisal: the chosen checks ran, their results were read, the failures were explained, and the remaining risk is known to the people accepting it. A team that treats it as a guarantee will eventually be surprised; a team that treats it as a decision procedure rarely is.
How QA testing differs from ad hoc bug hunting
Bug hunting starts when something already looks wrong. A tester opens the application, clicks around familiar screens, notices a broken flow, and tries to pin down how to reproduce it. That work is reactive, it is bounded only by the tester's curiosity, and it ends with a fix for one defect.
QA testing starts earlier. It includes proactive review of requirements and processes to prevent defects early, alongside validation of features and user experience. Before the build is finished, a QA process asks whether each requirement can be checked at all, which flows carry the most risk this week, and what evidence would make a release decision defensible. Bug hunting is not excluded from that: a short exploratory pass on a brand-new flow is a normal part of QA work. The difference is that exploration sits inside a plan with a known completion standard, instead of replacing it.
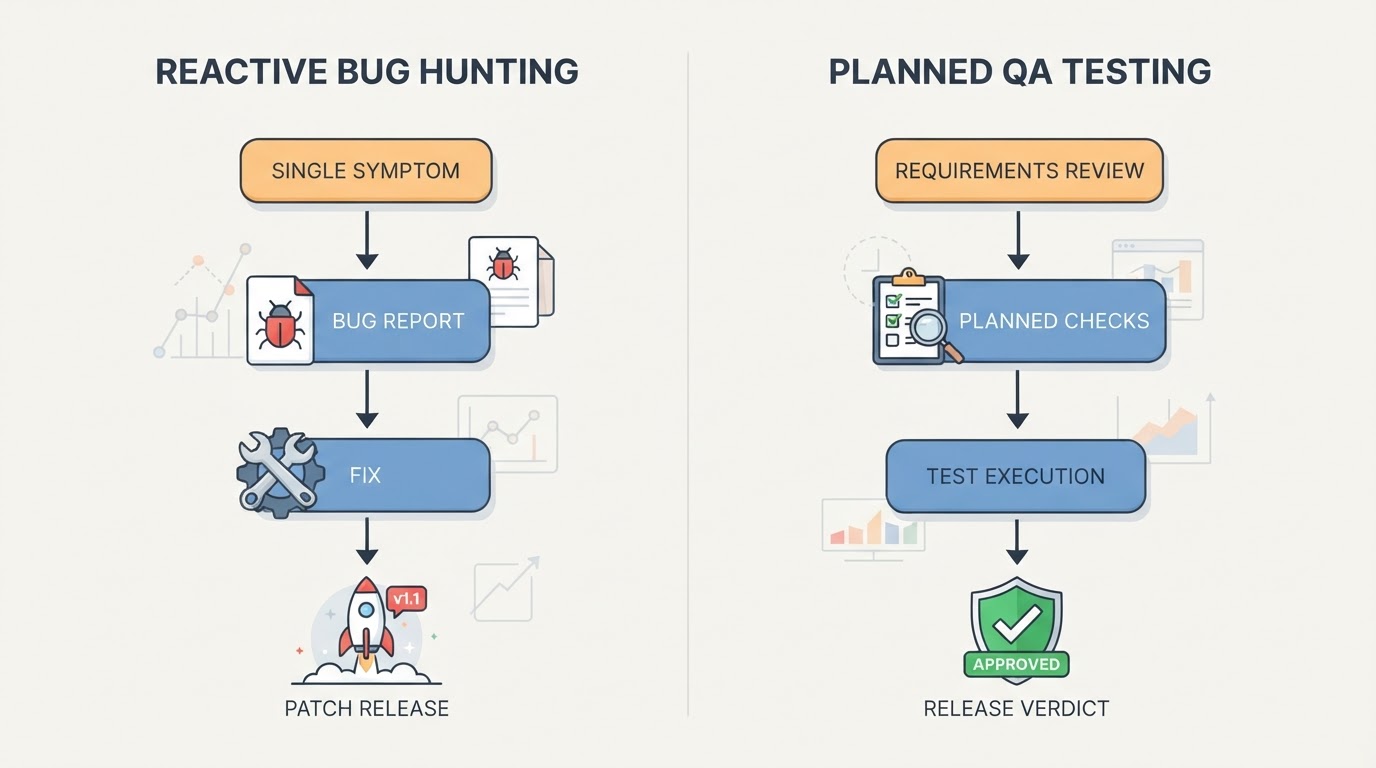
| Ad hoc bug hunting | QA testing |
|---|---|---|
Starting question | "Is something broken?" | "What must be true before we call this release ready?" |
Timing | After a symptom appears | From requirements review through sign-off |
Scope | Whatever the person happens to try | Checks chosen per layer of risk |
Output | A fix for one defect | A release decision plus the evidence behind it |
What types of testing are included in QA
A QA practice covers several layers, and each one answers a different question. This is the map most teams need before they can choose what to run for a given release.
Type | What it answers |
|---|---|
Unit / component | Does a single piece of code behave as specified when tested on its own? |
Integration | Do the parts agree at their boundaries — API contracts, data passed between modules, third-party calls? |
System / end-to-end | Does a complete user journey work through the real interface, from first click to final confirmation? |
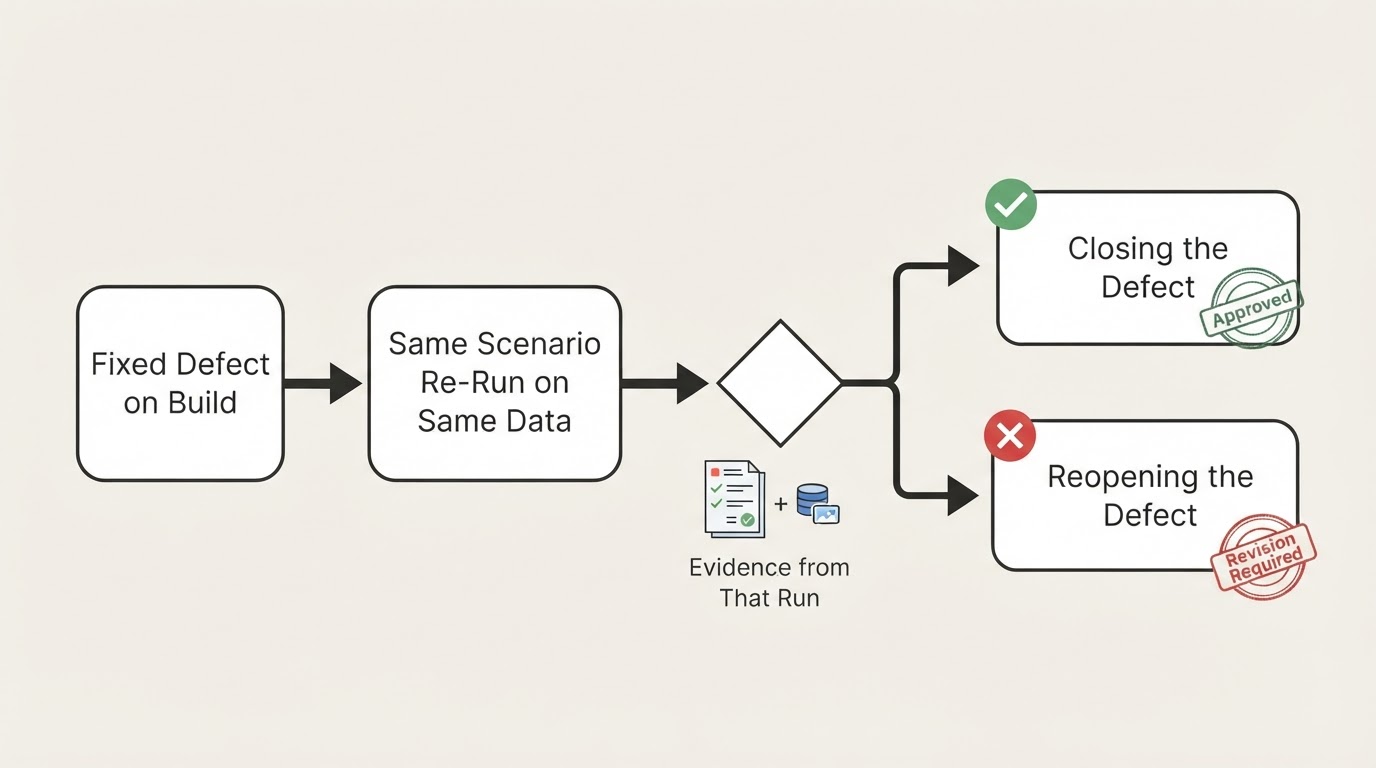
Regression | Did this change break something that used to work? |
Performance / load | Does the system stay within acceptable response times and error rates under expected traffic? |
UAT | Does the customer or business owner agree the delivered behaviour matches the intended outcome? |
A release rarely needs all six at the same depth. The point of the map is to prevent the two common failures: checking one layer and calling it coverage, or running everything indiscriminately and calling it rigour. Pick the cheapest layer that can actually catch the risk you are worried about, and be explicit about the layers you skipped.
A QA process for a small release, from planning to sign-off
This is the sequence one team can run without a dedicated QA function. Each step has a visible output, so the process does not depend on anyone remembering what happened.
- Name the flows that must not break. Pick three to five — usually sign-up, checkout or booking, billing, and the onboarding step that new customers hit first. These are the flows that get the deepest checks.
- Review the requirements before the build is done. For each change, find the acceptance criteria, and write them where they are missing. A requirement you cannot phrase as expected behaviour is a requirement you cannot check.
- Choose checks per layer of risk, then let the result decide the release. A pricing change earns a regression pass over checkout. A single component rewrite may only need unit and integration coverage plus one end-to-end confirmation.
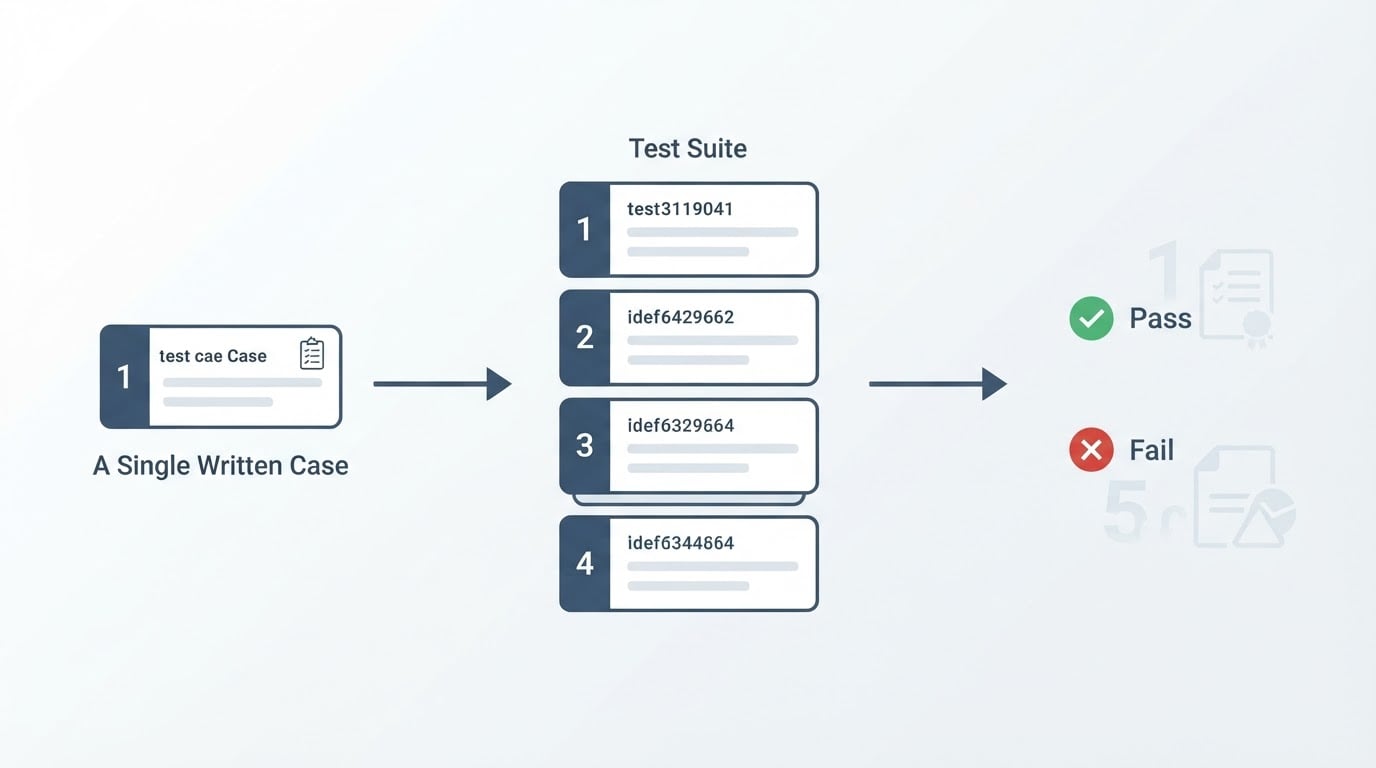
- Run the functional and regression checks and record the result. Record what ran, when, on which build, and the outcome of each step. A pass count without per-step detail is a mood, not evidence.
- Explain every failure in a paragraph a non-author can read. State what was expected, what happened, where it happened, and what artefact supports that claim. Then classify it: a real defect, an environment problem, or a stale check that no longer reflects the product.
- Decide and sign off. Three possible outcomes: go, conditional go with a named residual risk, or no-go. Sign-off should name who accepted which risk.
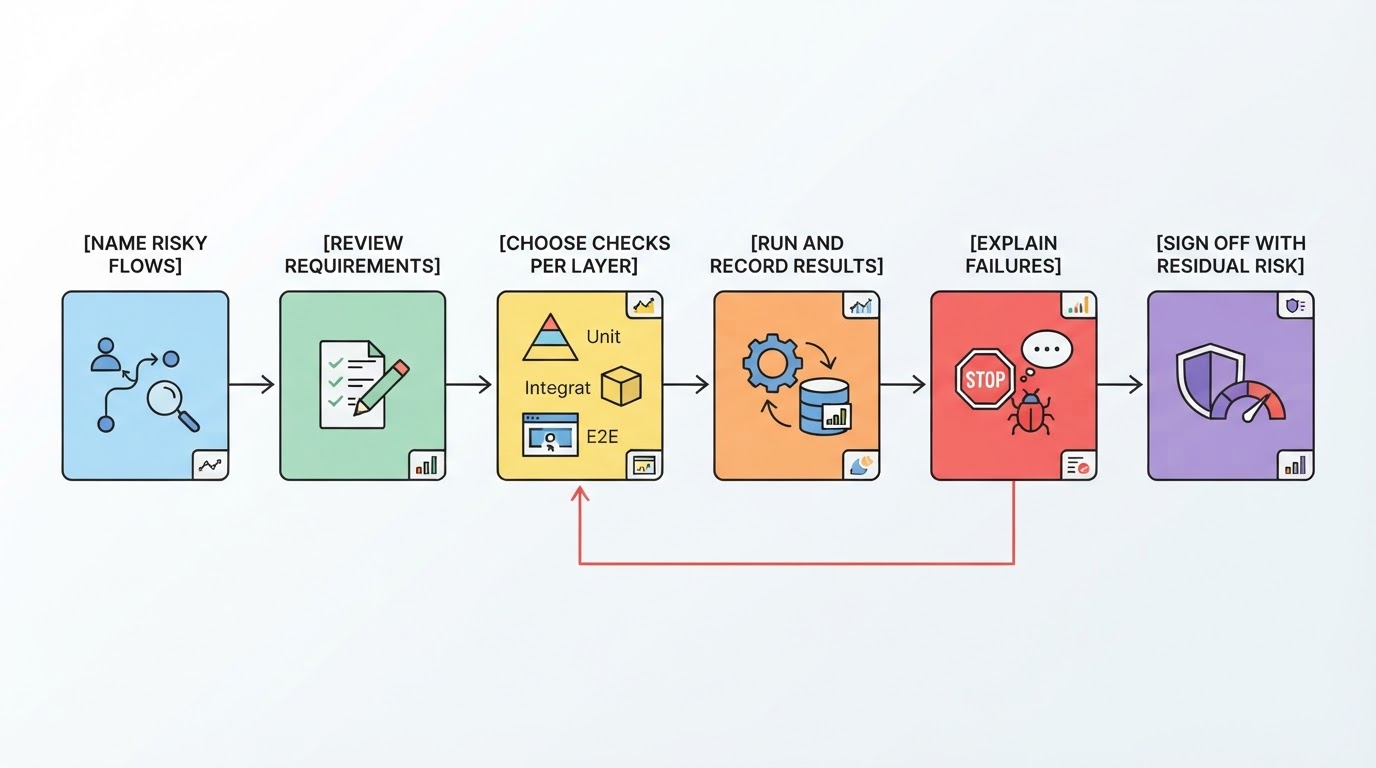
The process is complete when every in-scope flow has a recorded result, every failure has an explanation and a disposition, and the sign-off names the residual risk. That completion standard is what separates a QA process from a long afternoon of clicking.
What the evidence has to show before you sign off
There is a large difference between "the check ran" and "the check verified something." A result only supports a decision when a second person can reconstruct what happened without re-running the flow: which step failed, what the screen showed at that moment, and what the application reported underneath.
That is why the useful evidence set is small and specific. Per-step results tell you where the run diverged from the expected path. A screenshot of the failing moment shows what a user would have seen. Console and network logs show the cause the interface hides — a 500 from an endpoint, a request that never resolved, a redirect loop. A failure explanation without any of those three is a guess with a timestamp.
The explanation is also the handover point between QA and engineering. "Checkout is broken" costs a developer a reproduction session. "The order confirmation step expected the review page but landed on the cart, with a 502 on the payment intent call" gives them a starting point. Teams that write the second version spend less time reproducing and more time fixing.
Teams that want that record to live next to the checks usually look for the same property: a run that carries its own evidence. BuniOD, for example, describes its run history as keeping the result of each step and check, a screenshot, and the browser's console and network logs with every run, so a failure can be reviewed without reproducing it by hand. It is worth knowing that this run history is the only record of a run — there is no code export or API for pulling results elsewhere — which matters if your process expects to move evidence into another system.
Common mistakes that turn QA back into bug hunting
Four habits quietly undo a QA process, and each one is recognisable from the evidence trail.
- Signing off on a pass count instead of coverage. Forty green checks that never touch billing are not a release decision about billing.
- Letting the evidence live in a chat thread. Screenshots pasted into a channel disappear from the record the moment the thread scrolls; the next release starts from zero.
- Treating a flaky check as a broken product. A check that fails and passes on the same build is a measurement problem. Fix it or remove it, but do not let it teach the team to ignore red.
- Choosing tools before deciding what must be true. Automation is a way to run a chosen check repeatedly; it cannot decide which check matters.
The trade-off is real: a documented evidence standard costs time on every release, and small teams will feel it on the first one or two. The return shows up on the release where something does break, when the question is not "did anyone test this?" but "what did the check see, and who decided to ship anyway?"
What to do this week
Start with the smallest version that still produces a decision. Write down the three flows that must not break, add one acceptance criterion to the riskiest requirement, and record the next run of those flows with a per-step result, a screenshot, and a short failure explanation if anything fails. Keep the record somewhere the next release can read it. That is the whole loop; everything else in QA testing is depth applied to it.